
Dynamics GP year-end processing step by step guide – payables management
In part 3 of the step-by-step guide of our recommended best practices to close your financial year-end within Dynamics GP, we’ll be reviewing payables management. In our previous blogs, we focused on inventory and receivables management, making payables management the next logical step in the process.
Before commencing the year-end close routine for payables management, it is worth considering whether to remove your completed purchase orders first. It is not a requirement of the purchase ledger year-end close, however, it is a good task to complete to tidy up the system before the start of the new financial year. If you are using purchase order processing then it will move completed purchase orders to history.
You can then move on to our recommended year-end close routine for payables management which is very similar to the process for receivables management.
- Step one: Post all transactions for the year
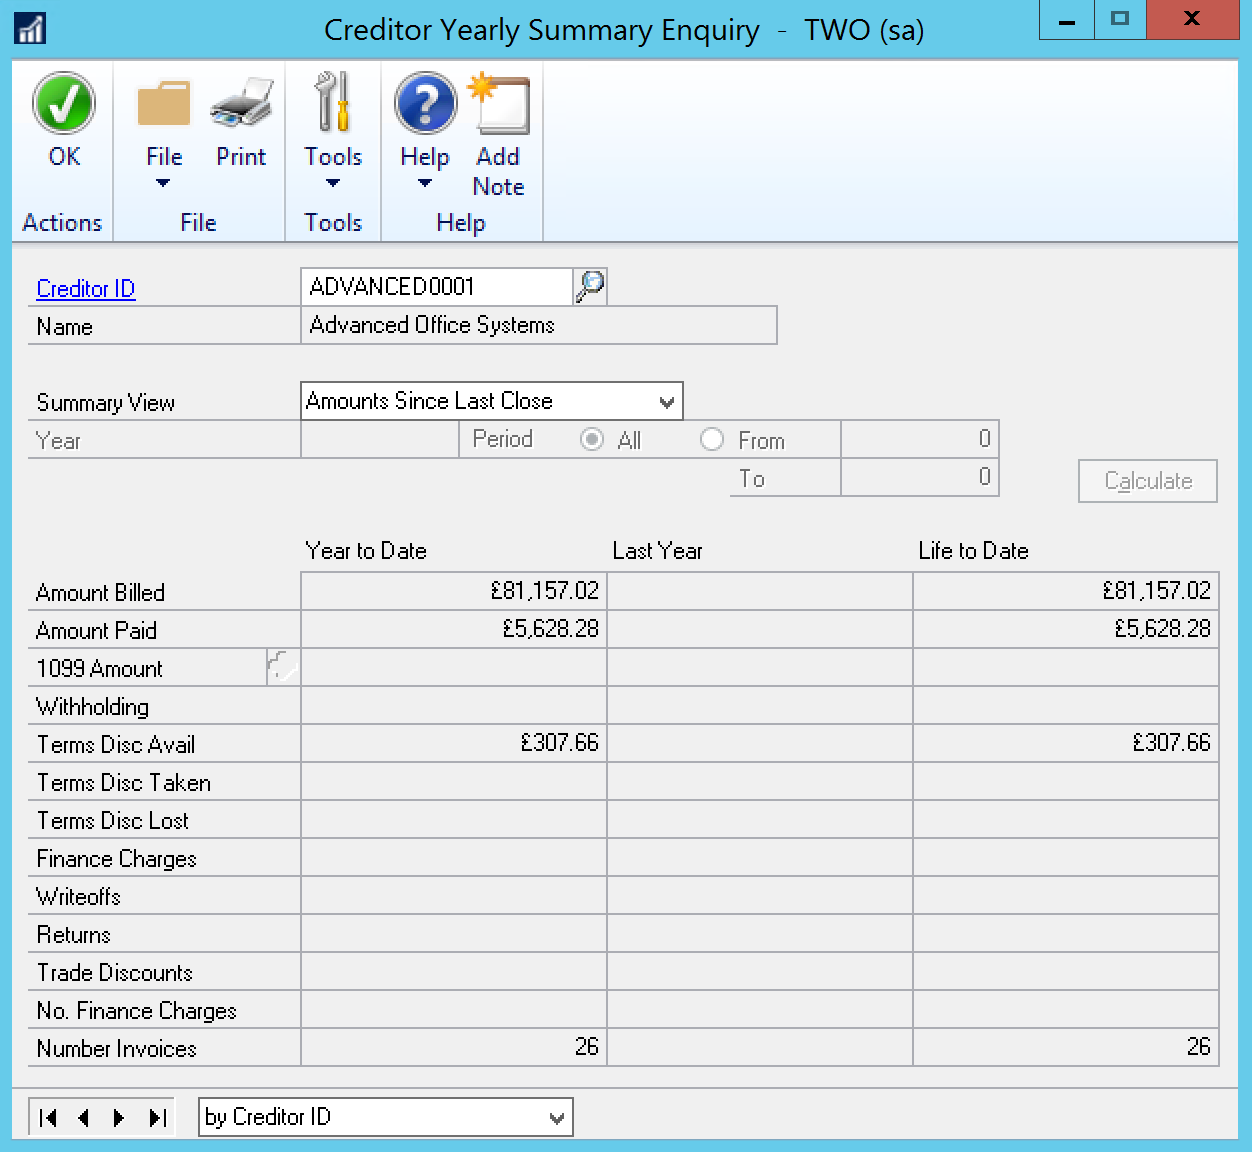
Transactions must be posted before you close the year. Access the Creditor Yearly Summary Enquiry screen and update, which effectively tells the system when one year has ended and the next has started.
- Step two: Print relevant reports
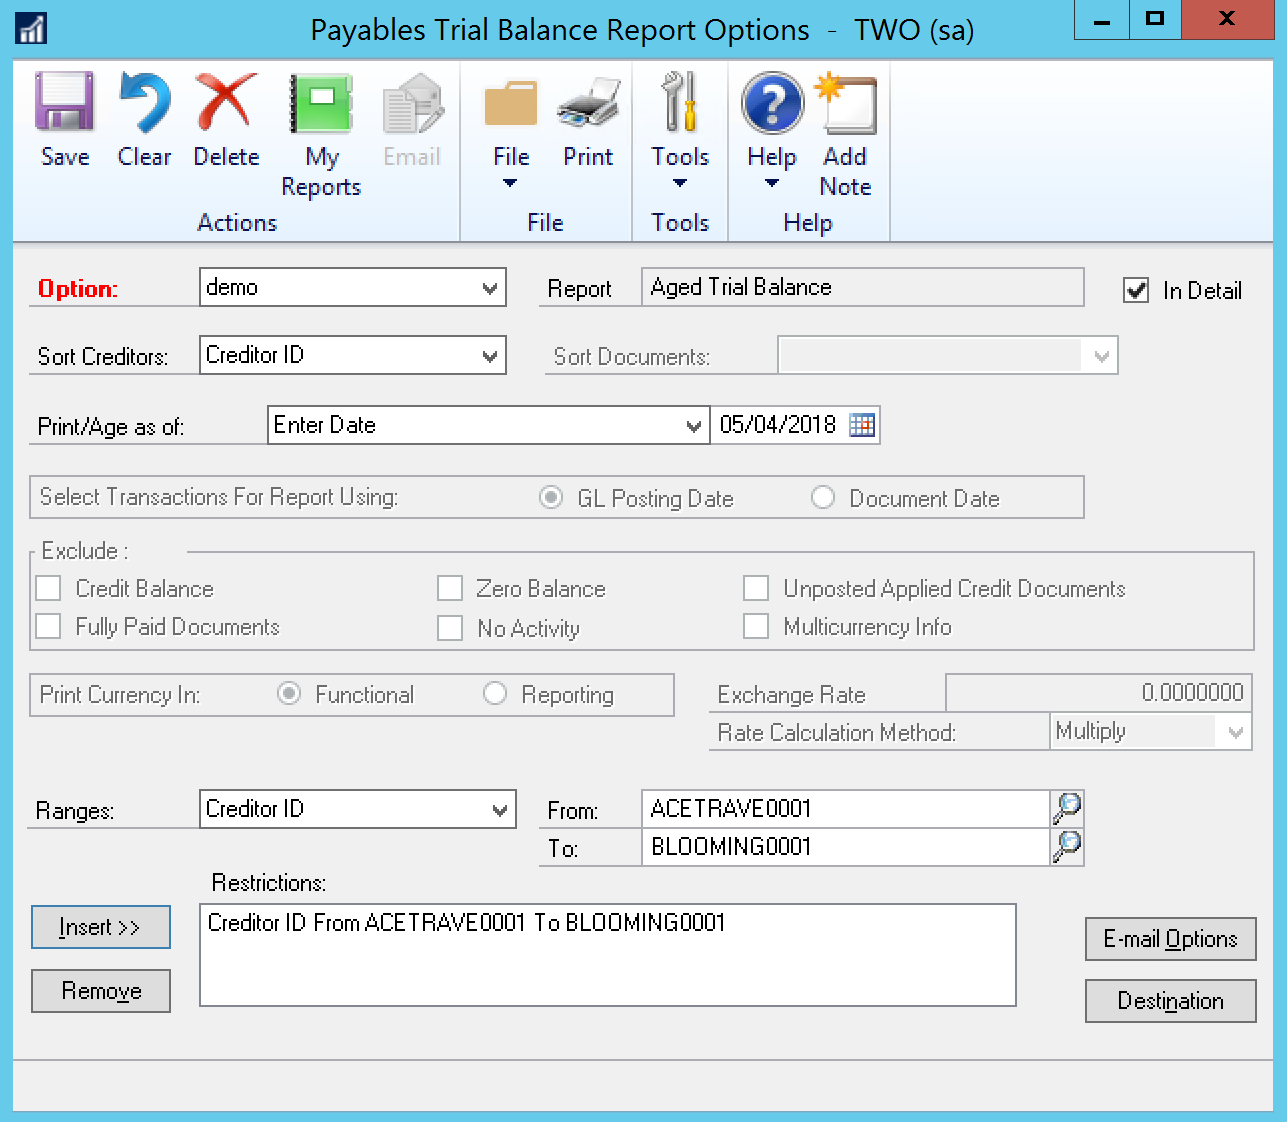
Our recommendation is to print a paper copy of both the Aged Trial Balance and Creditor Period Analysis reports to keep with your year-end financial records. These can be accessed through the Reports menu.
- Step three: Make a backup
As discussed in the previous parts of this step-by-step guide, you can never have too many backups. Take a backup at this point and store it in a safe, permanent place so it can be restored if necessary at a later date should you need it.
- Step four: Close the year
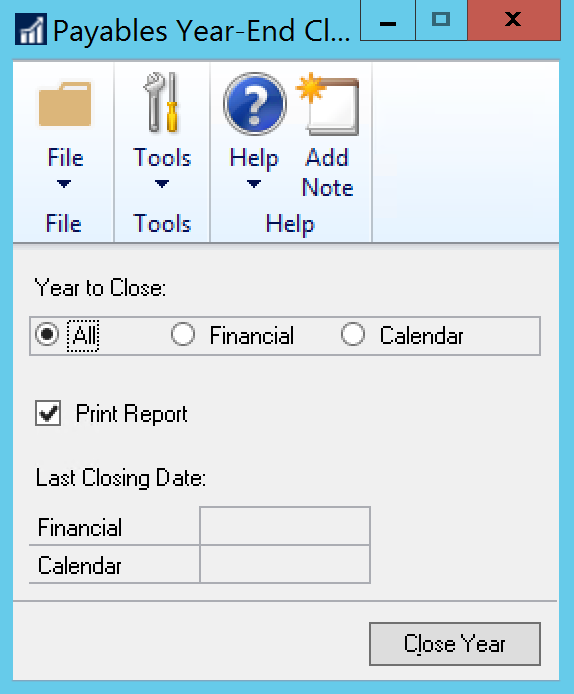
This process is like the year-end close procedure for receivables management so should feel familiar. To start the process, click on Tools, Routines, Purchasing and then Year-End Close. Here you have the option to select either your Calendar or Financial year-end, whichever is applicable. You can also select All to close both options. Check the Print Report box and then click Close Year which opens a new screen with options for printing. Here you can print out your Standard Report to Screen by checking the relevant box. Another new window opens which shows what transactions have gone through the purchase ledger for that year and summarises what has been cleared off. In the year-end close screen, the dates have been updated to show that the financial year has been closed.
Now you have completed step 3 of the year-end close process within Microsoft Dynamics GP. Look out for our next blog which will focus on fixed assets.
Read the two previous steps below..
Adam Carey
Dynamics Consultant